Introduction
Thank you for purchasing our theme. If you have any questions that are beyond the scope of this help file, You can asking on the support forum after you sign up with your purchased code. Thanks so much!
Support Forums
Any questions that are beyond the scope of this help file, asking on support forum
Visit Support ForumFollow Us
Follow us on ThemeForest and don't miss our new upcoming premium themes.
Follow on ThemeForestRate Theme & Support
If you like our theme or support, please rate on ThemeForest in your download page.
Rate on ThemeForestGetting Started
If you are first time to use WordPress, I think maybe you need to read the offical documentation for how to use WordPress, click here to read it.
About WordPress installation, you should download the latest version of WordPress code from WordPress.org, then upload all the WordPress files to your webhost(Some webhost is provide one-click installation, e.g. Bluehost or Siteground), then, visit your website with your IP address or domain name, fill the MY SQL and Administrator information step by step. You can refer to the following Video:
Also, there are many useful How-to videos in WordPress.tv
Theme Installation
Unzip the downloaded package. Find the zipped theme file called focux_theme_v2.x.zip.
Go to "Appearance > Themes" in your dashboard side menu. Click “Install Themes” tab and upload the zipped theme file. Activate it after uploading is finished.
You can also unzip the installation zip file and upload the theme folder to "/wp-content/themes" directory via FTP client.
Initialization
After you actived the theme, please initalize the theme as the following steps.
1. Change default image size to double size for retina screen
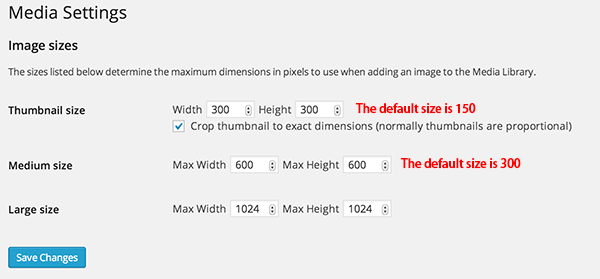
If you have already uploaded images before, you should regenerate all old thumbnails with regenerate thumbnail plugin.
2. Install the required plugins
After you installed and actived the theme, you will see the plugin installation notification, just install all the required plugins and neccessary recommended plugins.

Click the "Begin installing plugins" link. After the plugins installed, don't forget active them.
3. Add Content
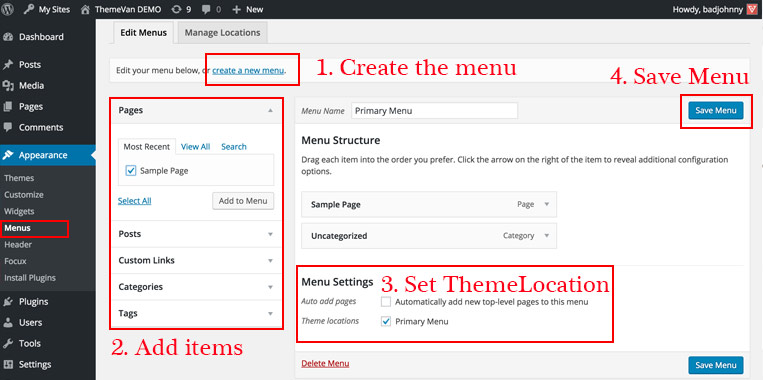
Then, just add the post categories, some neccessary pages, for example, about, contact,etc.. Don't forget set the custom menu in "Appearance > Menus" and put the pages and categories into the primary menu, footer menu or language list.
Sample Data
If you are newbie and unfamiliar to use this theme, you can import the Sample data which is included in the download package. We include 5 prebuilt homepage templates and 3 prebuilt single product post templates and some other pages like About, Contact and FAQ.
- 1. Content.xml - All posts, pages and menu data.
- 2. Widget.wie - Widgets data (import the widget data through Widget Importer & Exporter plugin )
- 3. Revolution Slider - There are 5 example slider zip files included, just import them through Revolution Slider page. (Just upload those zip file directly)
Go to Tools > Import > WordPress, WordPress might offer you to install the WordPress importer plugin, if you haven't installed it before do it now.
Once you've installed WordPress importer plugin, browse to the Sample Data folder in your download package, select the sample data file and upload it.
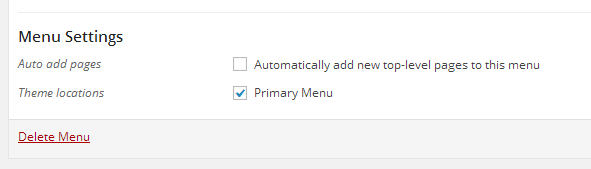
Next, go to Appearance > Menus and make sure to select "Primary Menu" and make sure to check the box in "Theme Locations" so that this becomes your Primary Menu.
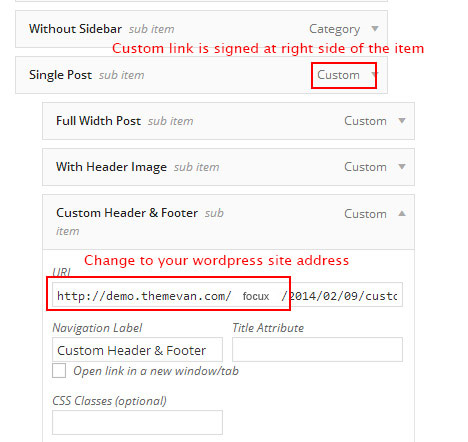
Additional, you need to change all custom link to your own wordpress site address as below:
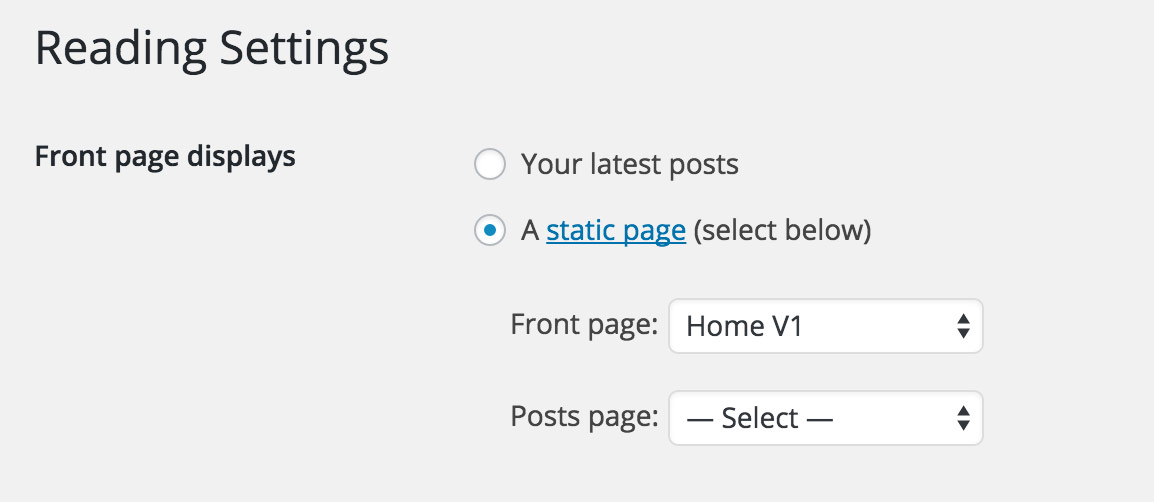
Last, go to Settings > Reading page > Front page displays, check "A static page" option and select the page which you want to set it as the front page.
Then, your website will be as same as our demo site . Just modify the content based on the sample pages.
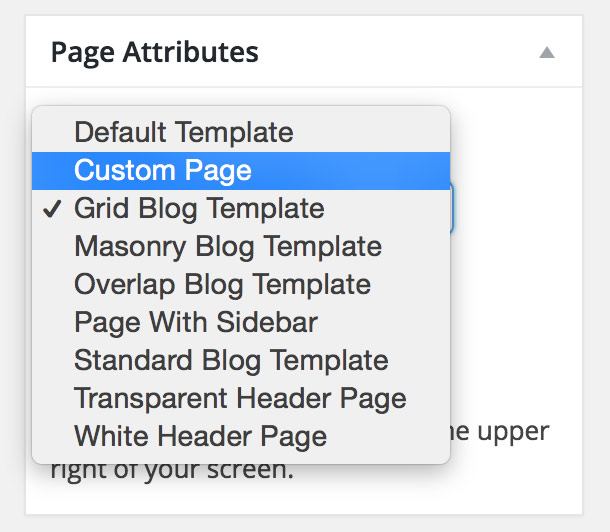
Page Templates
We include the following page templates for you. If you want to create a new custom homepage or blog page, you can select the specific page template from the Page Attributes box.
-
- Custom Template
You can select this template for your own custom home page or inner page with fullwidth wrapper.
-
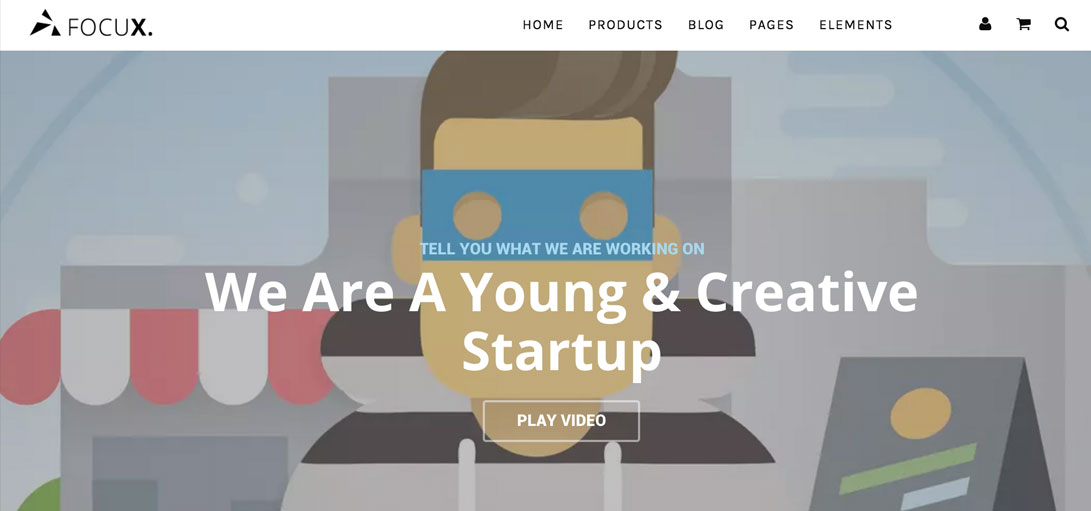
- Transparent Header Template
You can select this template for your own custom home page or inner page with fullwidth wrapper& transparent header.
-
- White Header Page
You can select this template for your own custom home page or inner page with fullwidth wrapper& white header.
-
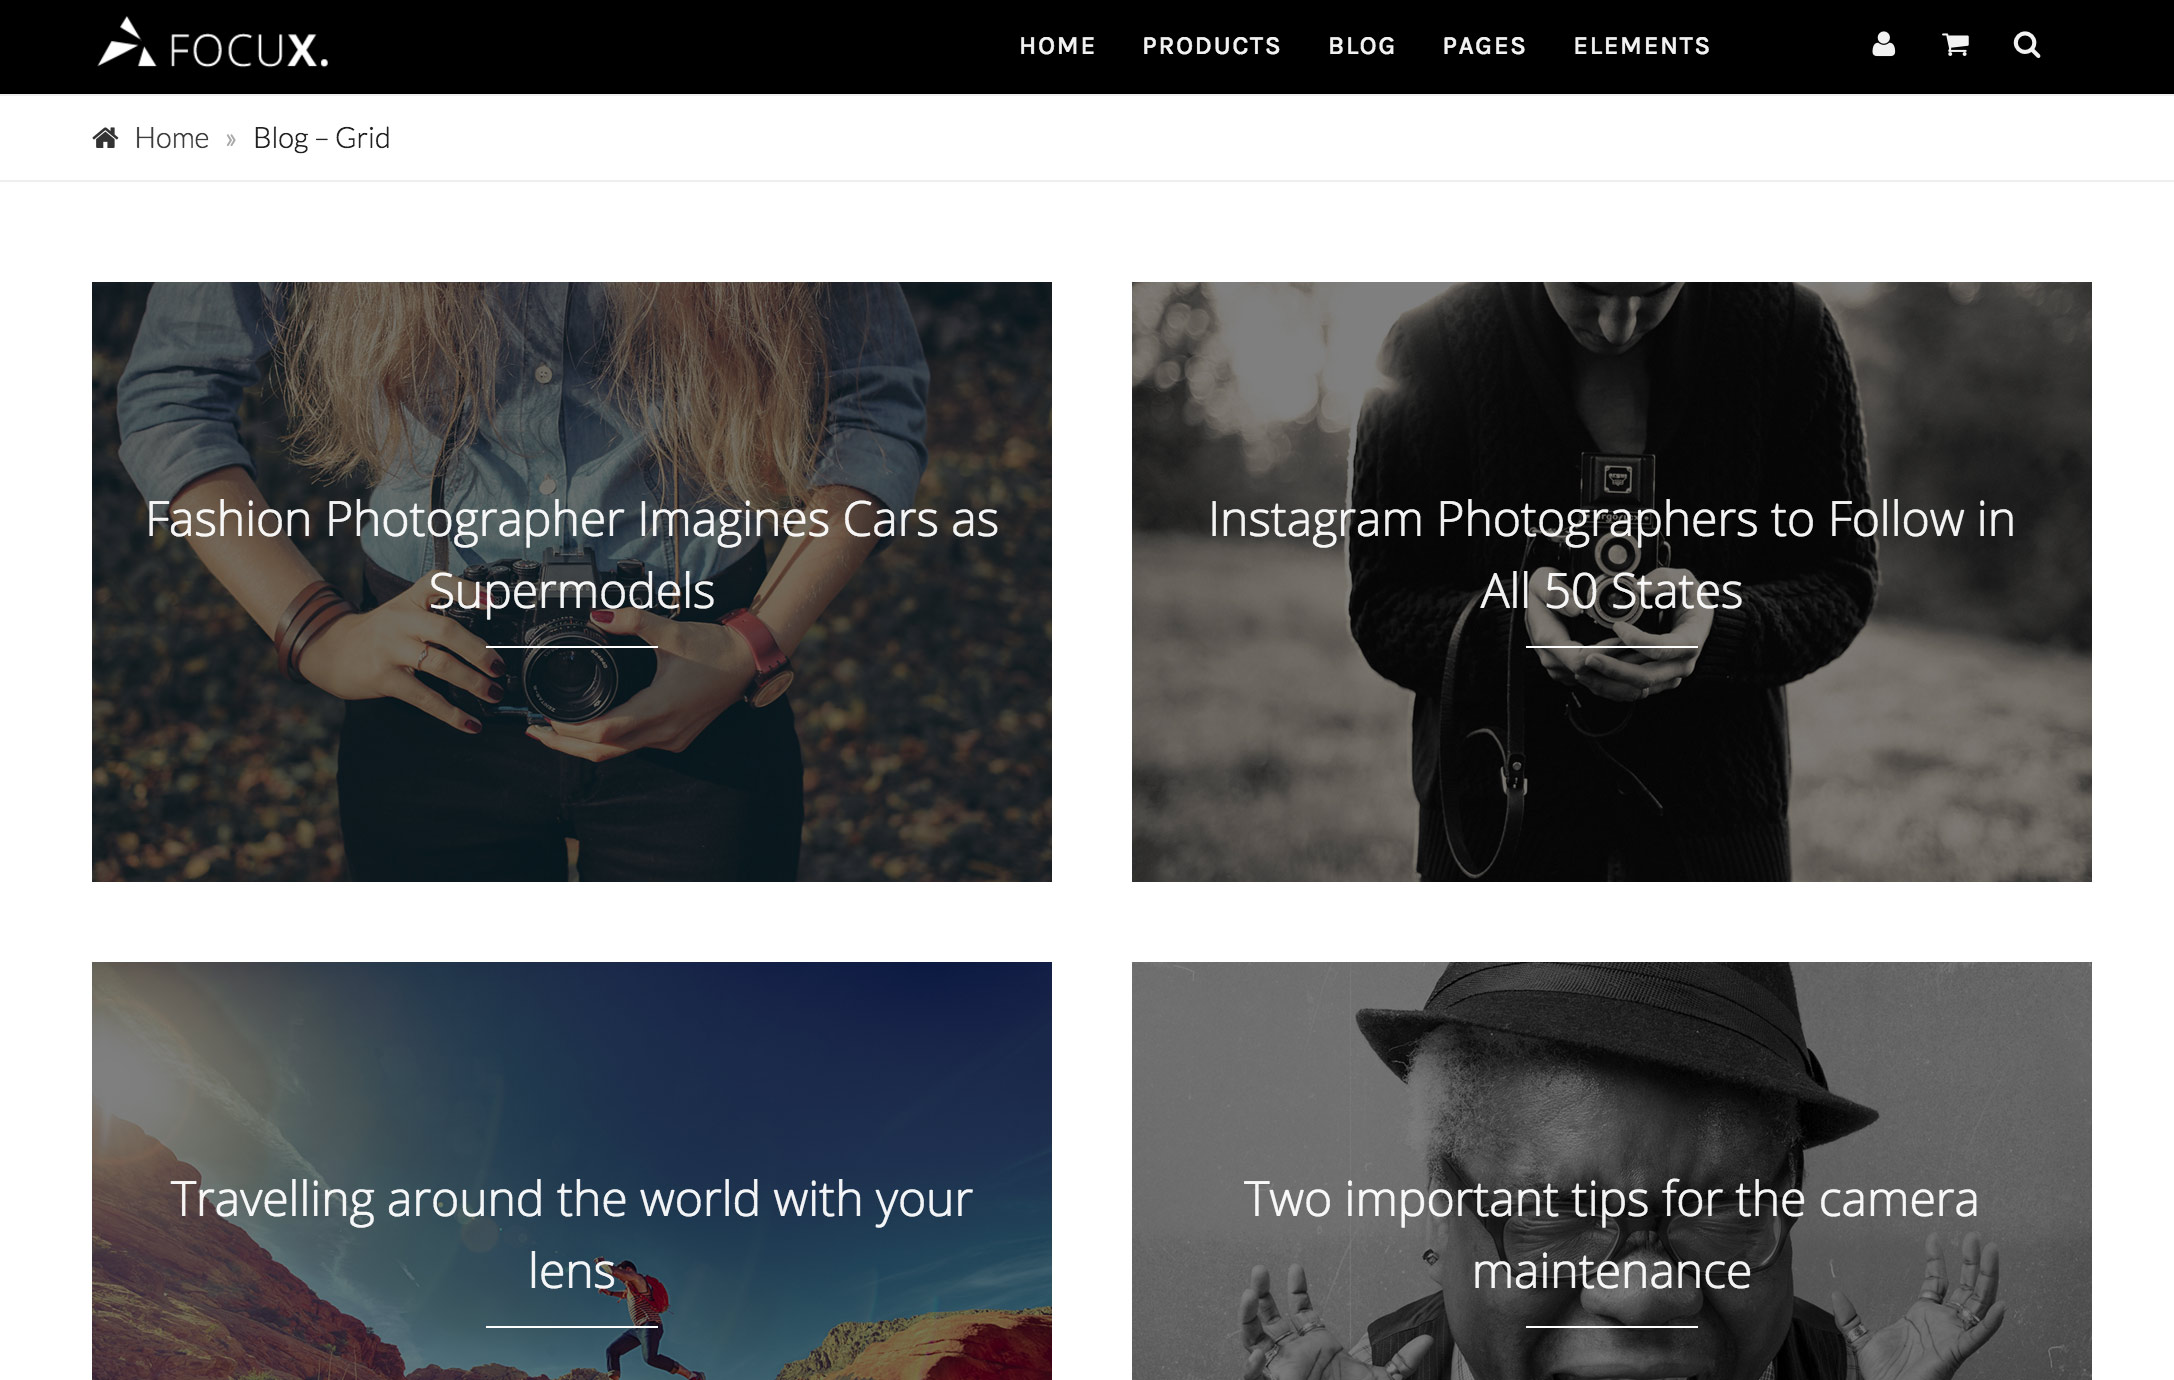
- Grid Blog Template
If you want to make your blog page displays as the grid layout, just create a new page and select this template. Check Demo
-
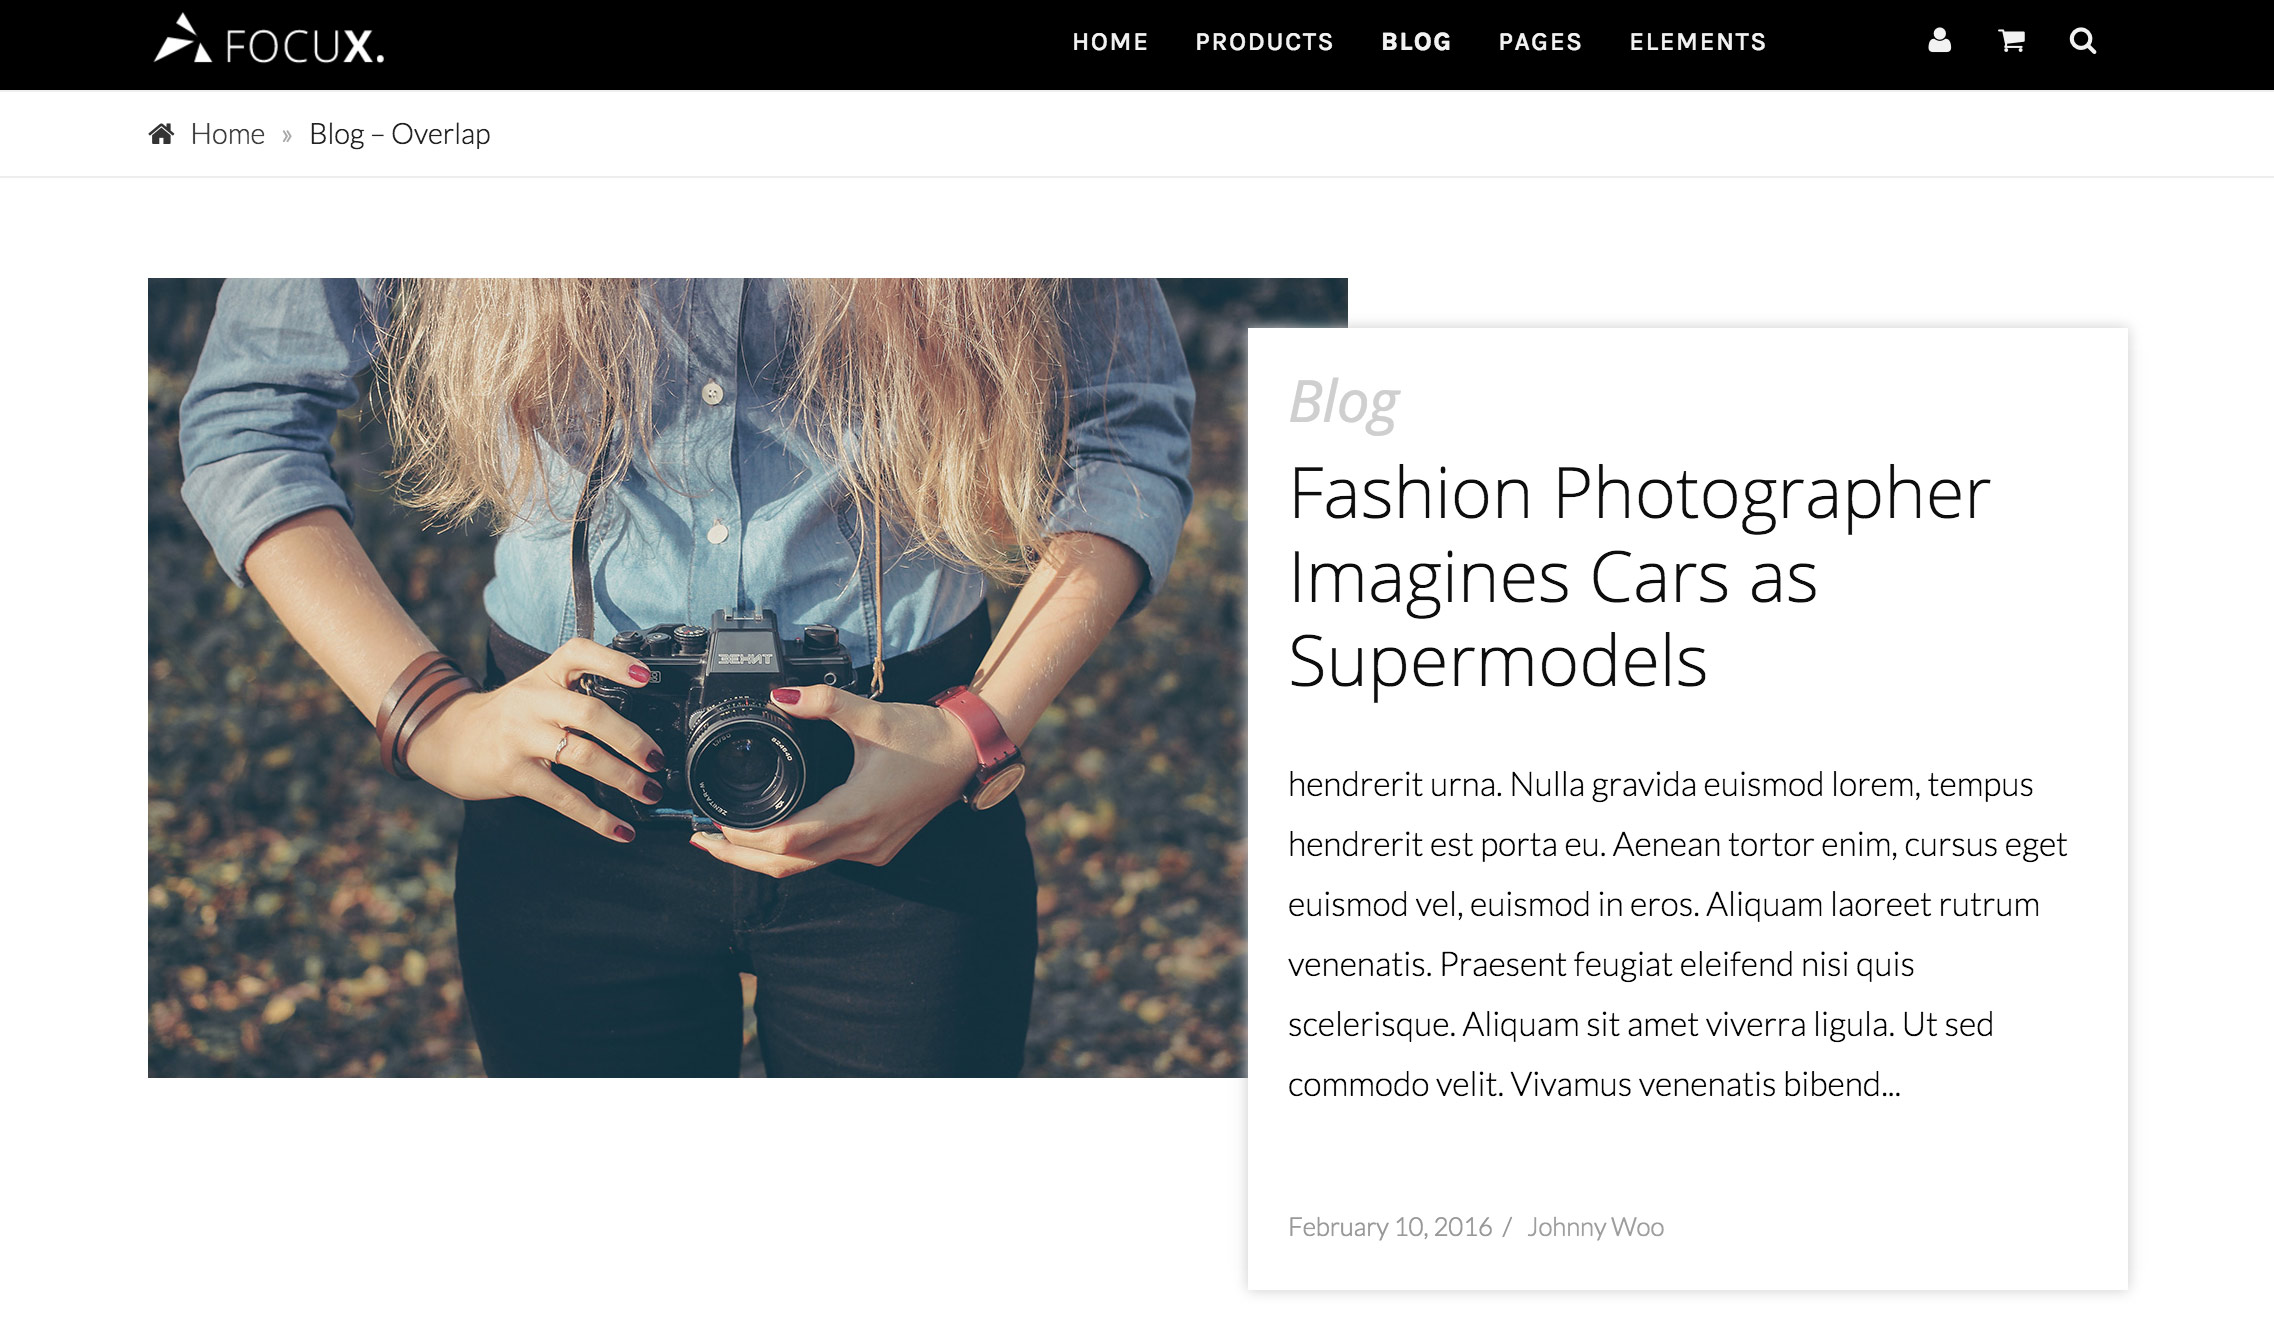
- Overlap Blog Template
This special blog template will make your blog page looks like below Check Demo
-
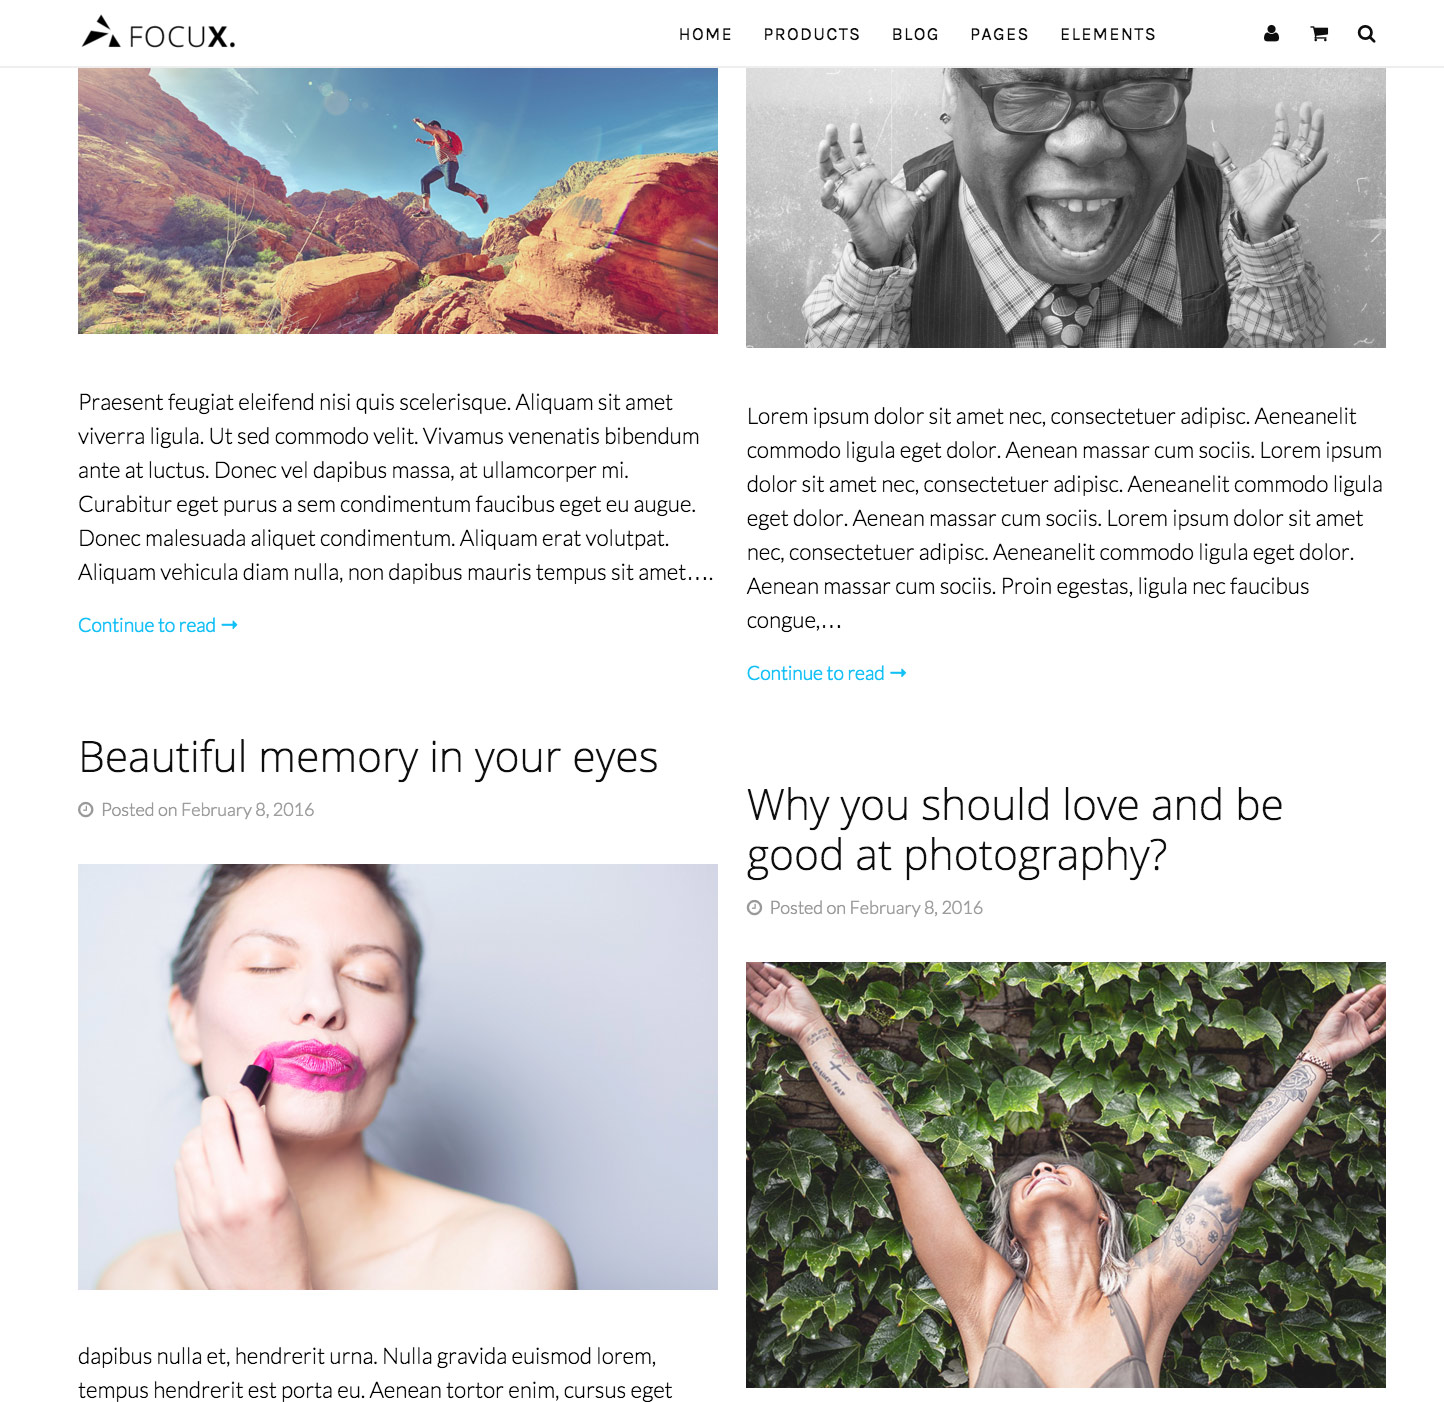
- Masonry Blog Template
A masonry blog template with two columns. Check Demo
-
- Standard Blog Template
This is a standard blog template without sidebar. Check Demo
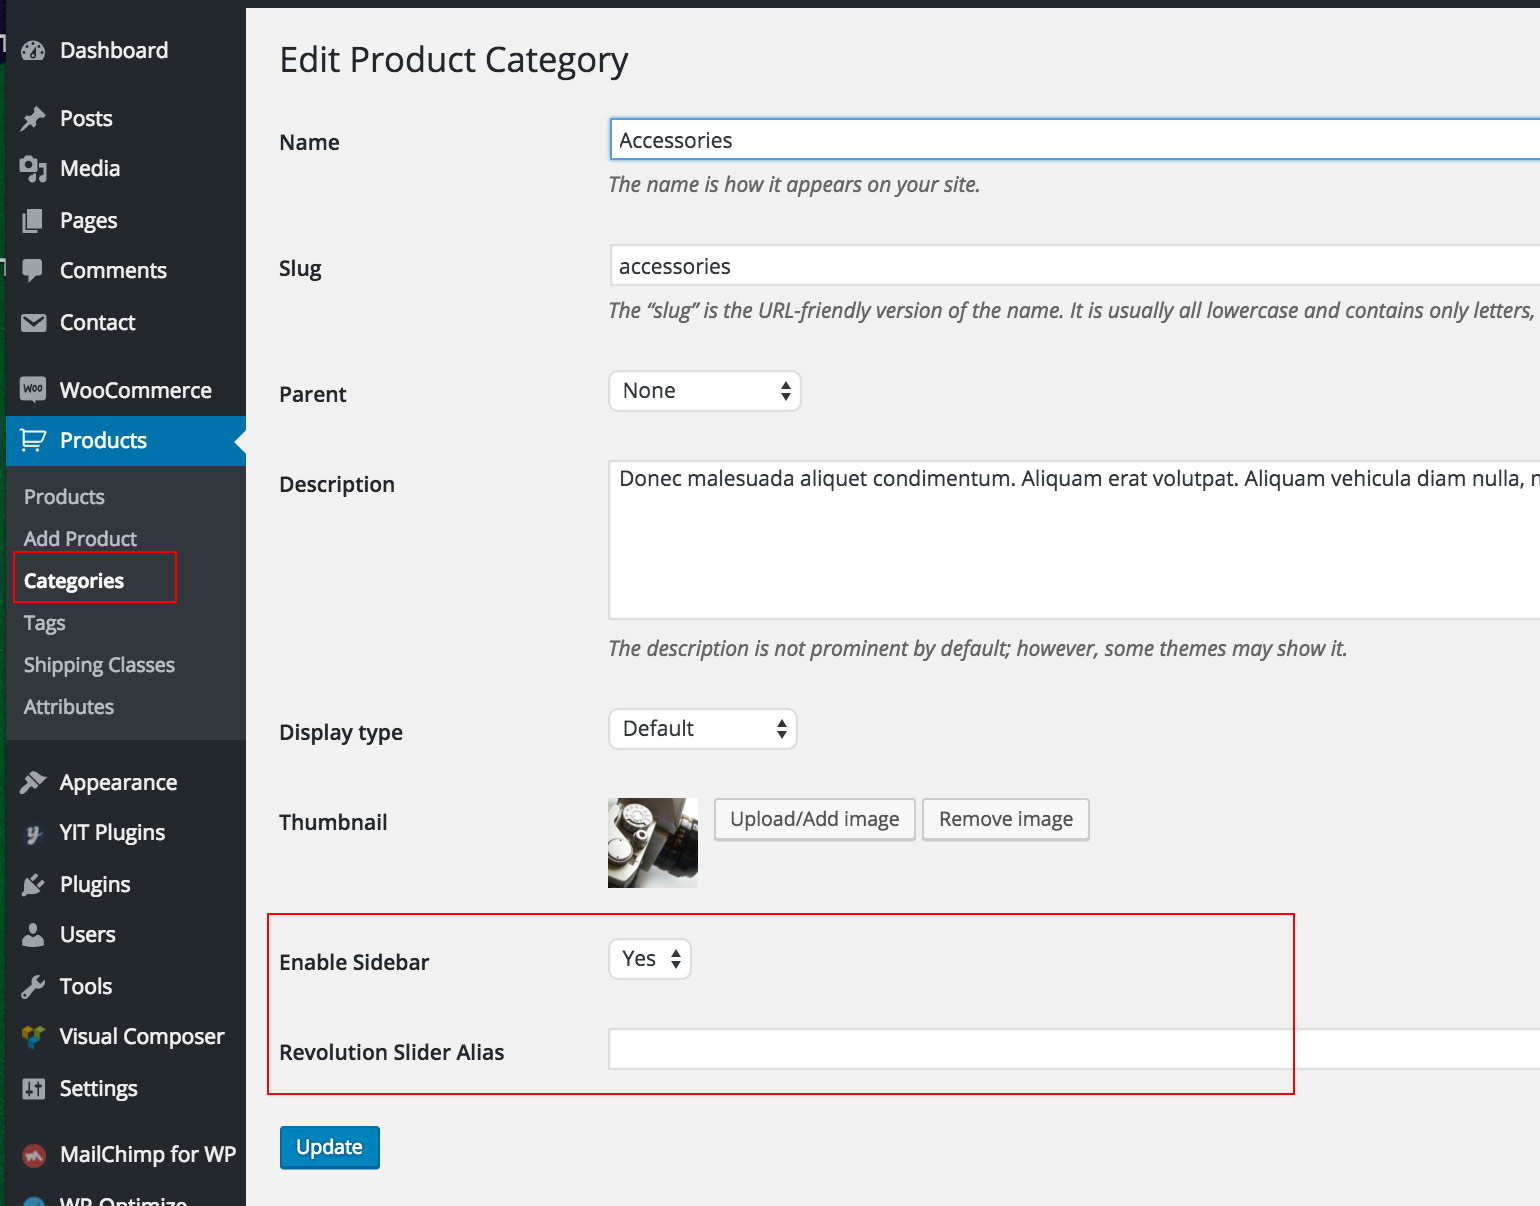
Product Category Setting
Here are two extra settings we include in the WooCommerce Product Category setting page. As you can see, they are "enable sidebar" option and "Revolution Slider Alias" field.
Enable sidebar: If you hope a product category page includes left sidebar, just select Yes. Check Demo
Revolution Slider Alias: If you want to add a top slider into a product category page, copy the revolution slider alias to this field. Check Demo
Theme Options
We integrated all theme options into the WP customizer page (Appearance > Customize)
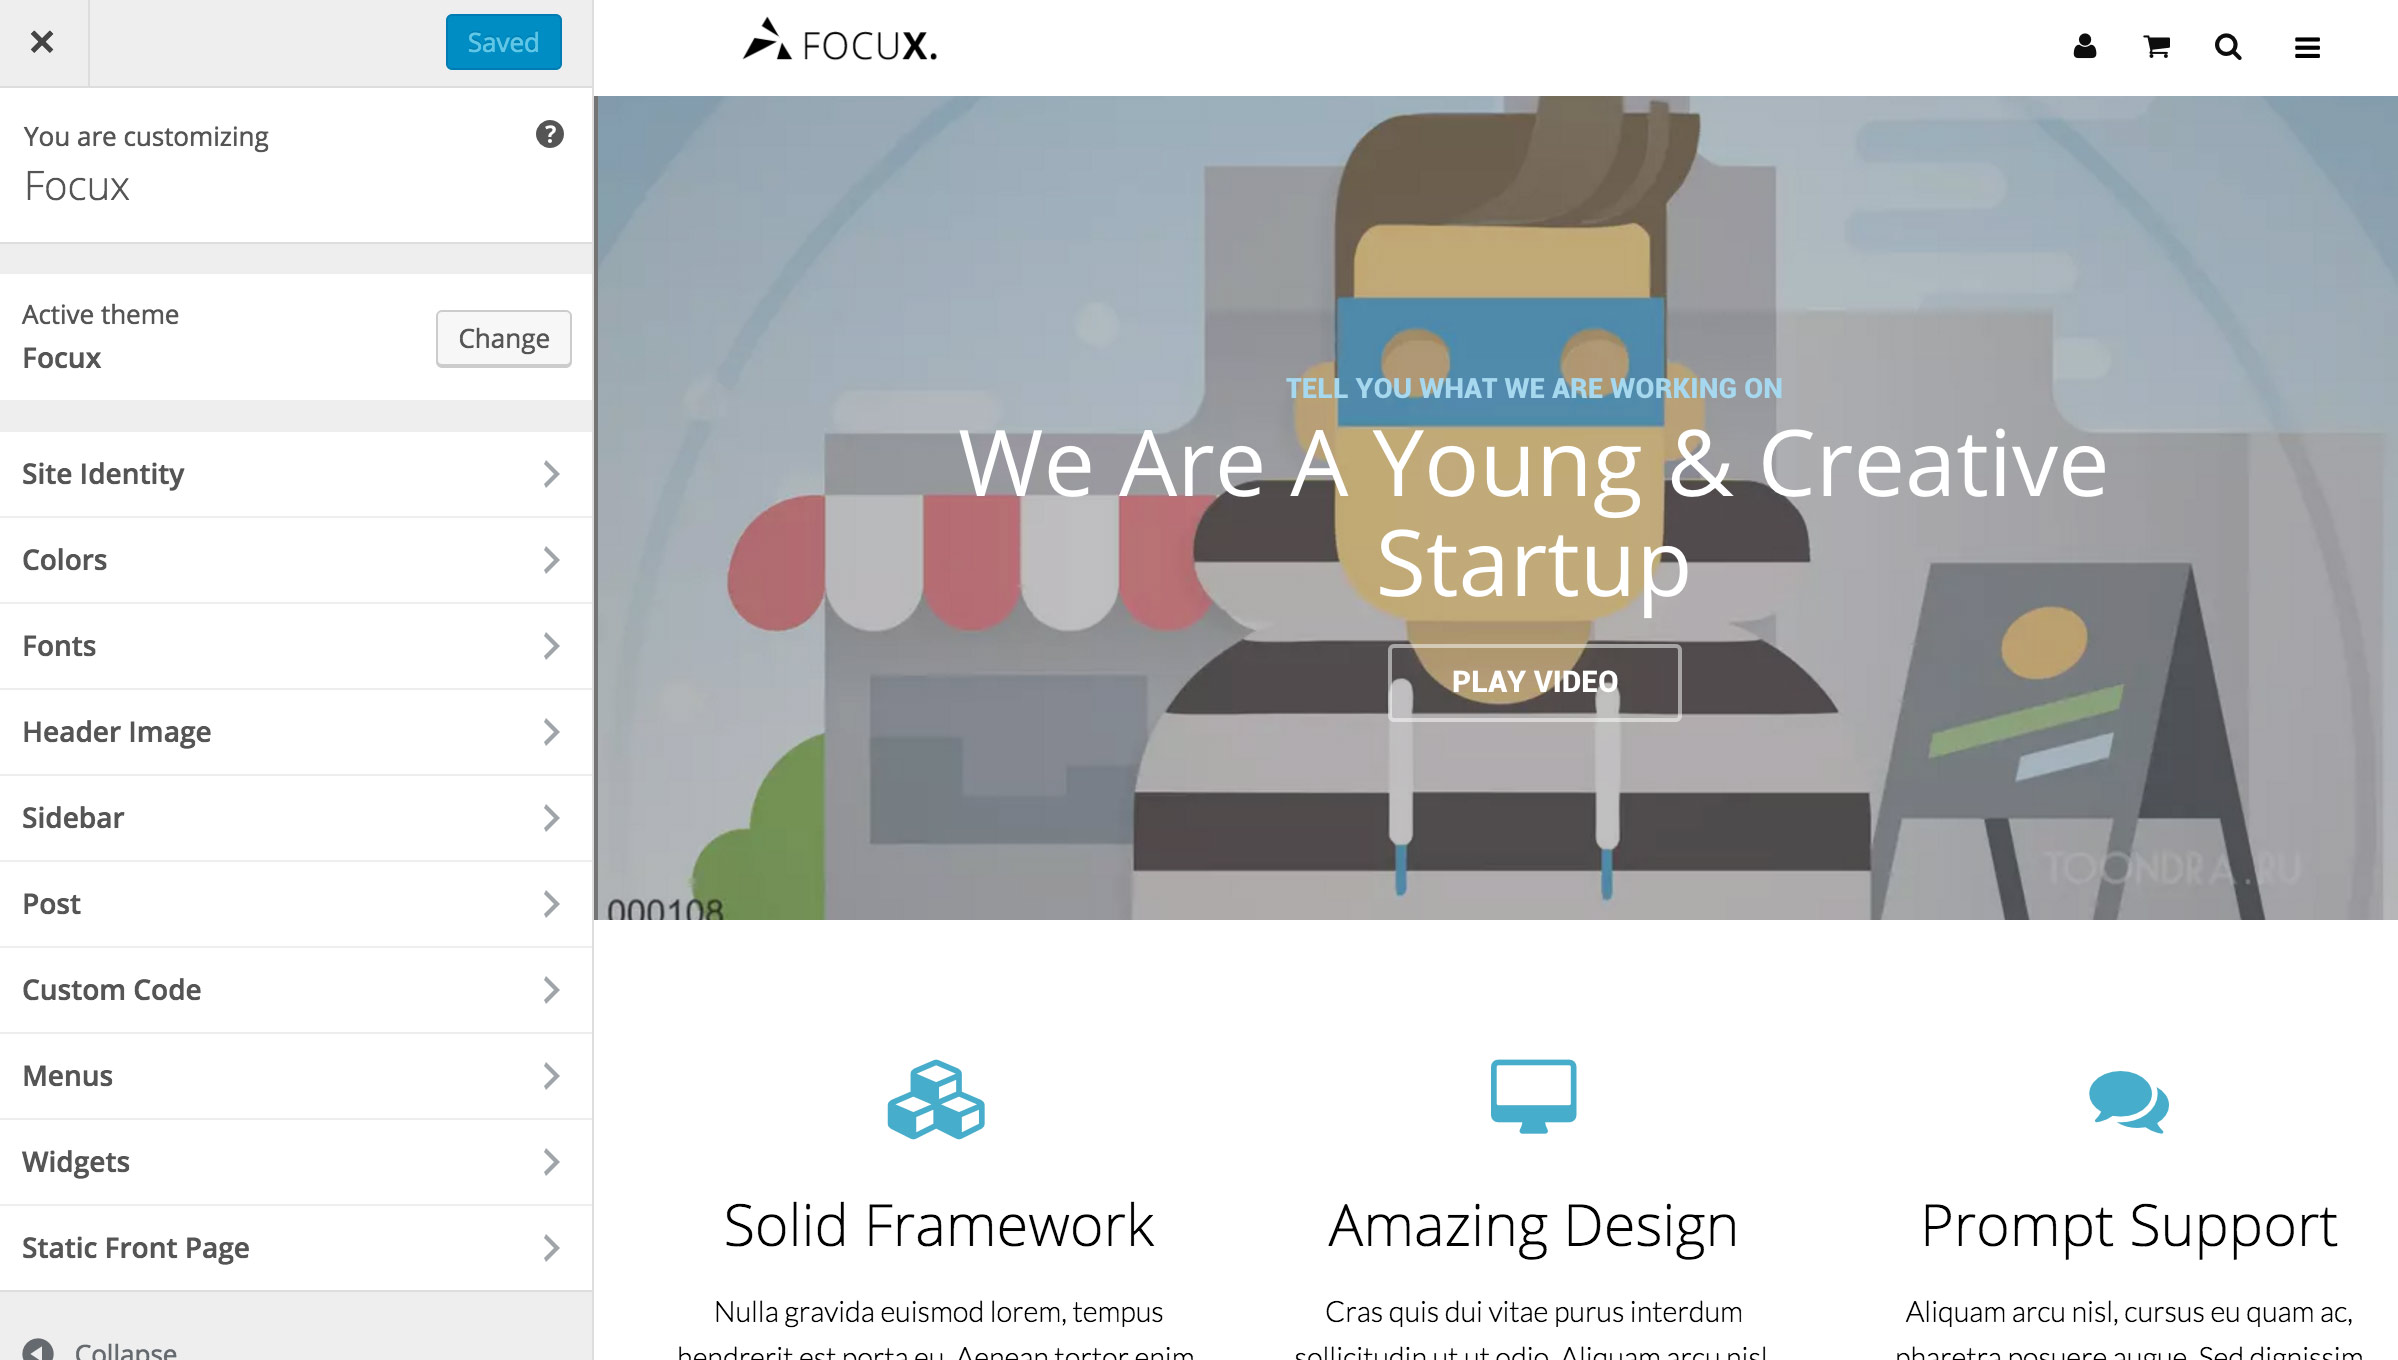
Look at the left sidebar, there are color, font, post, sidebar settings and so on. You can find many useful options under those sections, and you can preview the result in real time after you made changes.
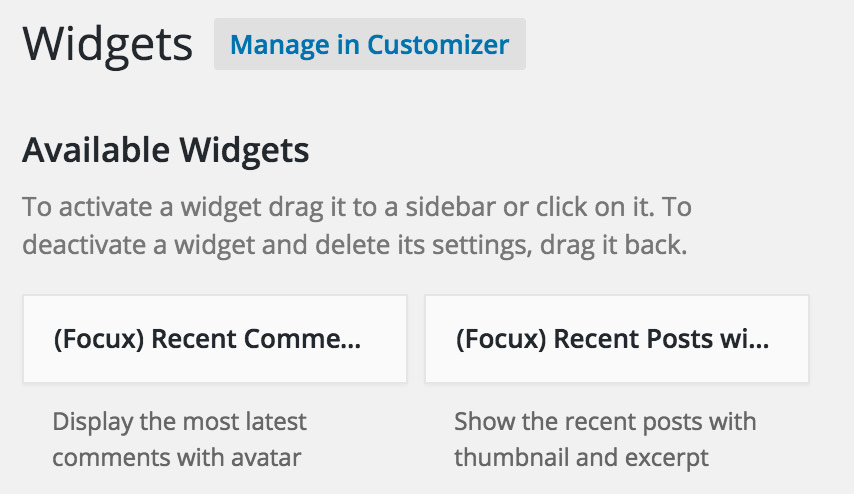
Widgets
There are 7 widget areas in "Appearance > Widgets" like below
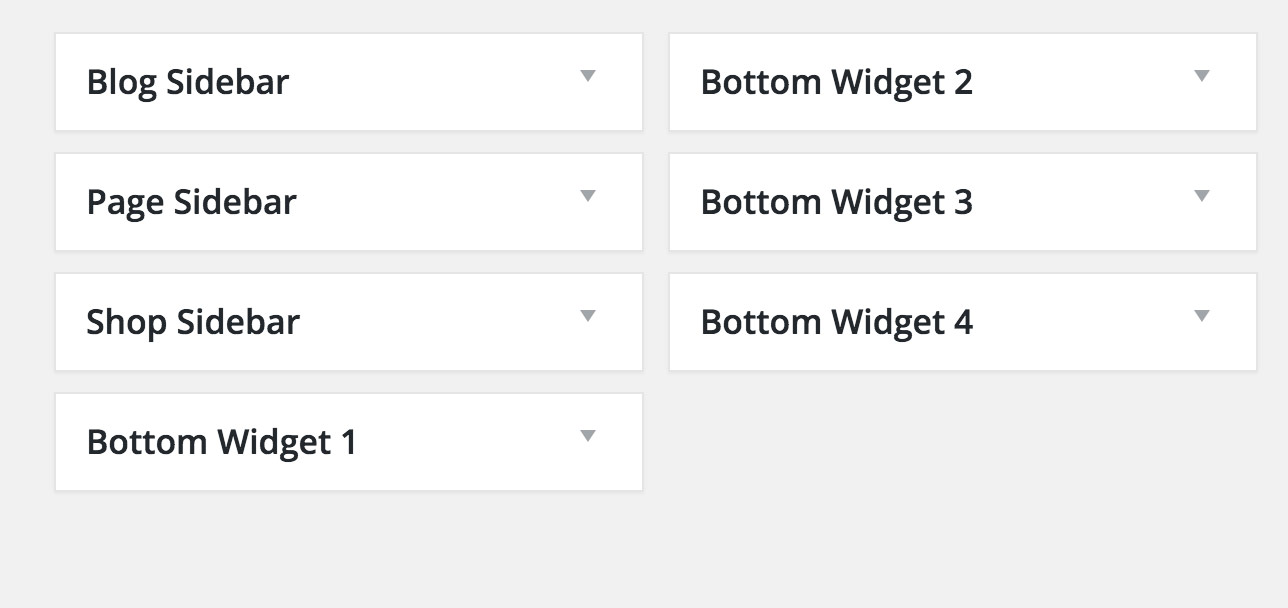
"Bottom widgets" will show up at the bottom section of each pages.
In particular, "(Focux) Recent Posts with thumbnail", "(Miao) Recent Comments" are our custom widgets.
Customization
- Secondary development
If you are going to secondary develop the theme, please don't modify the source code of the theme, you'd better create a child theme, or add your custom assets/css/javascript in "Appearance > Customize > Custom Codes > CSS codes(or javascript code)", it will not conflict with the future upgrading, otherwise, you can't upgrade your theme smoothly.
For how to create a child theme, you can refer to the following offical documentation, http://codex.wordpress.org/Child_Themes . Also, our support service is not include helping user to create a child theme, but we would like to answer your questions about the php function, file structure or CSS.
-
- Hooks
We include the template parts in some hooks that you should know them if you want to customize the theme by yourself. You can find the hooks in "inc/functions/hooks.php" and "inc/woocommerce/hooks.php"
How to use hook for make some changes?
Let's say this oneadd_action( 'focux_before_content', 'focux_before_content' );, the second parameter is the hooked function:
if ( ! function_exists( 'focux_before_content' ) ) :
/**
* Before Content
*/
function focux_before_content(){
echo '<div id="page" class="hfeed site fx-grid-1000">
<div id="content" class="site-content">';
}
endif;Now, you can define a new hooked function like below
if ( ! function_exists( 'new_before_content' ) ) :
/**
* New Before Content
*/
function new_before_content(){
echo 'I just wanna insert this line above the page container!'; echo '<div id="page" class="hfeed site fx-grid-1000">
<div id="content" class="site-content">';
}
endif;
Then, remove the old hooked function with
remove_action()and hook the new functionremove_action('focux_before_content','focux_before_content');
add_action('focux_before_content','new_before_content');If you have any questions about the hooks usage, don't hesitate to ask question on the support forum .
-
- Support Service
If you want to looking for the customization service, unfortunately, we are not provide customization service, the support service is only include fixing bug and trouble using. Maybe you can look for a freelancer developer on http://studio.envato.com/ or http://freelancer.com
Localization
This theme is ready for localization. We have made every string translate able with the text domain "focux", use Poedit editor to translate it, or install CodeStyling Localization plugin to translate the text.
For how to create your own language file, please do it as following steps
- Go to /wp-content/themes/focux/languages directory, you will find the default.po file
- Just copy this file and rename the file in format language.po (ie. pt_BR.po, de_DE.po, etc.)
- Then, open this file with Poedit editor, translate all words to your language, save the file.
- Go to "Setting > General > Site language", you will find the language options at the bottom, select your language.
Upgrade
Every times when we release the new version, please note that if you haven't modified any source files of the theme, just remove the old version and reinstall the new version directly, if you have changed some source files, you can't simply reinstall the new theme, it's hard to upgrade, you must move all your changed codes to the new theme before you reinstall or override the old files.
Credits
thanks all creator of these great files
- jQuery
- Fonts by Google Webfonts
- jQuery Masonry
- Swiper
- Font Awesome
- jQuery Sasing
- ScrollTo and localScroll
- WordPress
All pictures in the demo site are from pexels.com.